
quel est le prix d’une révision voiture en 2026 ?
Understanding the True Cost of Vehicle Revision in 2026 When considering car maintenance cost 2026, it’s crucial to differentiate between a simple…
Lire l’article →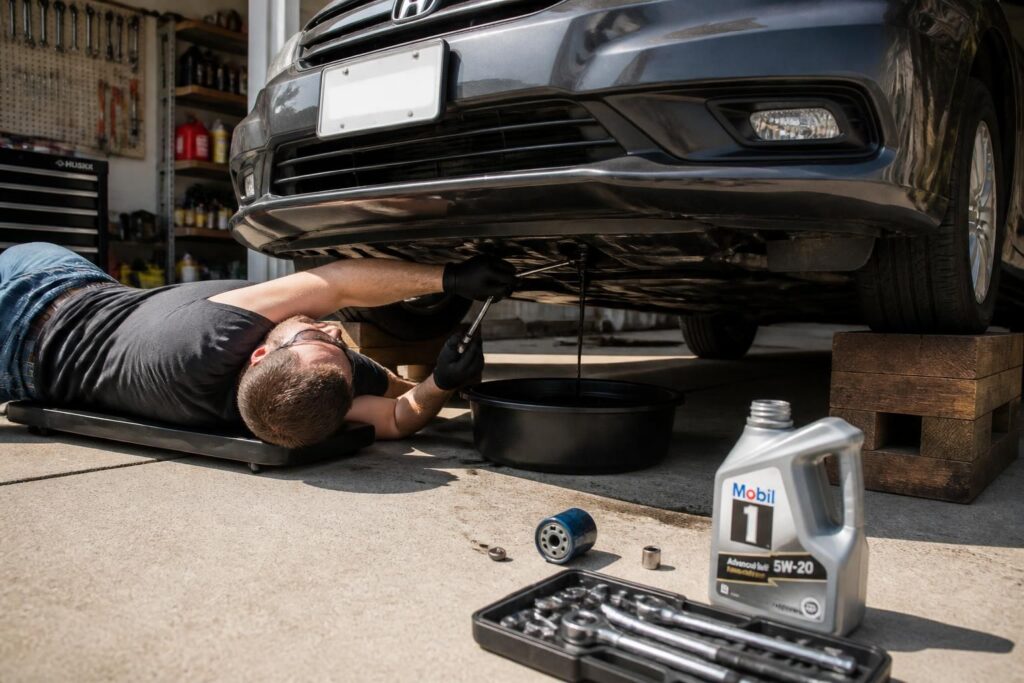
Performing a DIY oil change without a lift may appear intimidating at first, but with the right preparation and safety measures, it can be straightforward and rewarding. For vehicle owners looking to save on maintenance costs and gain autonomy in basic car maintenance, mastering the oil change without lift technique is a fundamental skill.
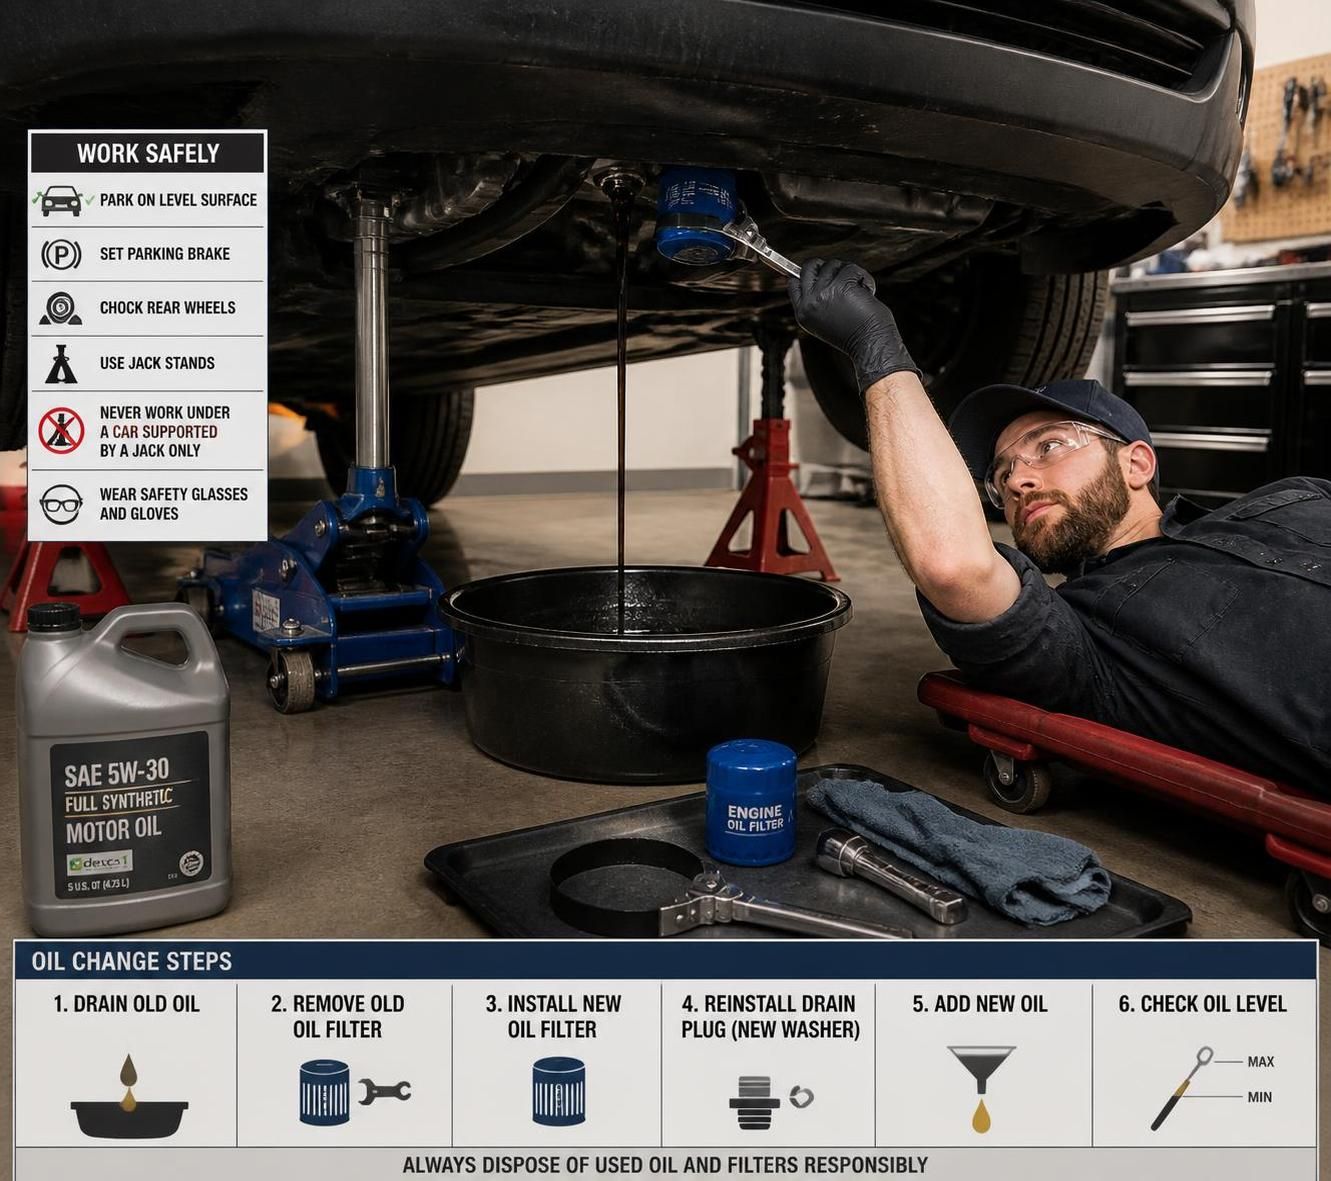
First and foremost, safety should never be overlooked. Working underneath a vehicle poses real risks; therefore, relying solely on a hydraulic jack is a dangerous mistake. The recommended approach for a self oil change without a bridge (lift) involves the use of sturdy jack stands (chandelles) to securely support the car. Investing in a reliable pair of jack stands, which cost approximately €30 to €60 depending on weight capacity, is a vital step. For the majority of passenger vehicles, stands rated for 2 tons provide ample stability and security.
Properly lifting the vehicle entails:
Additionally, performing the oil change on a flat, solid surface—preferably concrete or asphalt—is strongly advised to prevent stands from sinking or slipping.
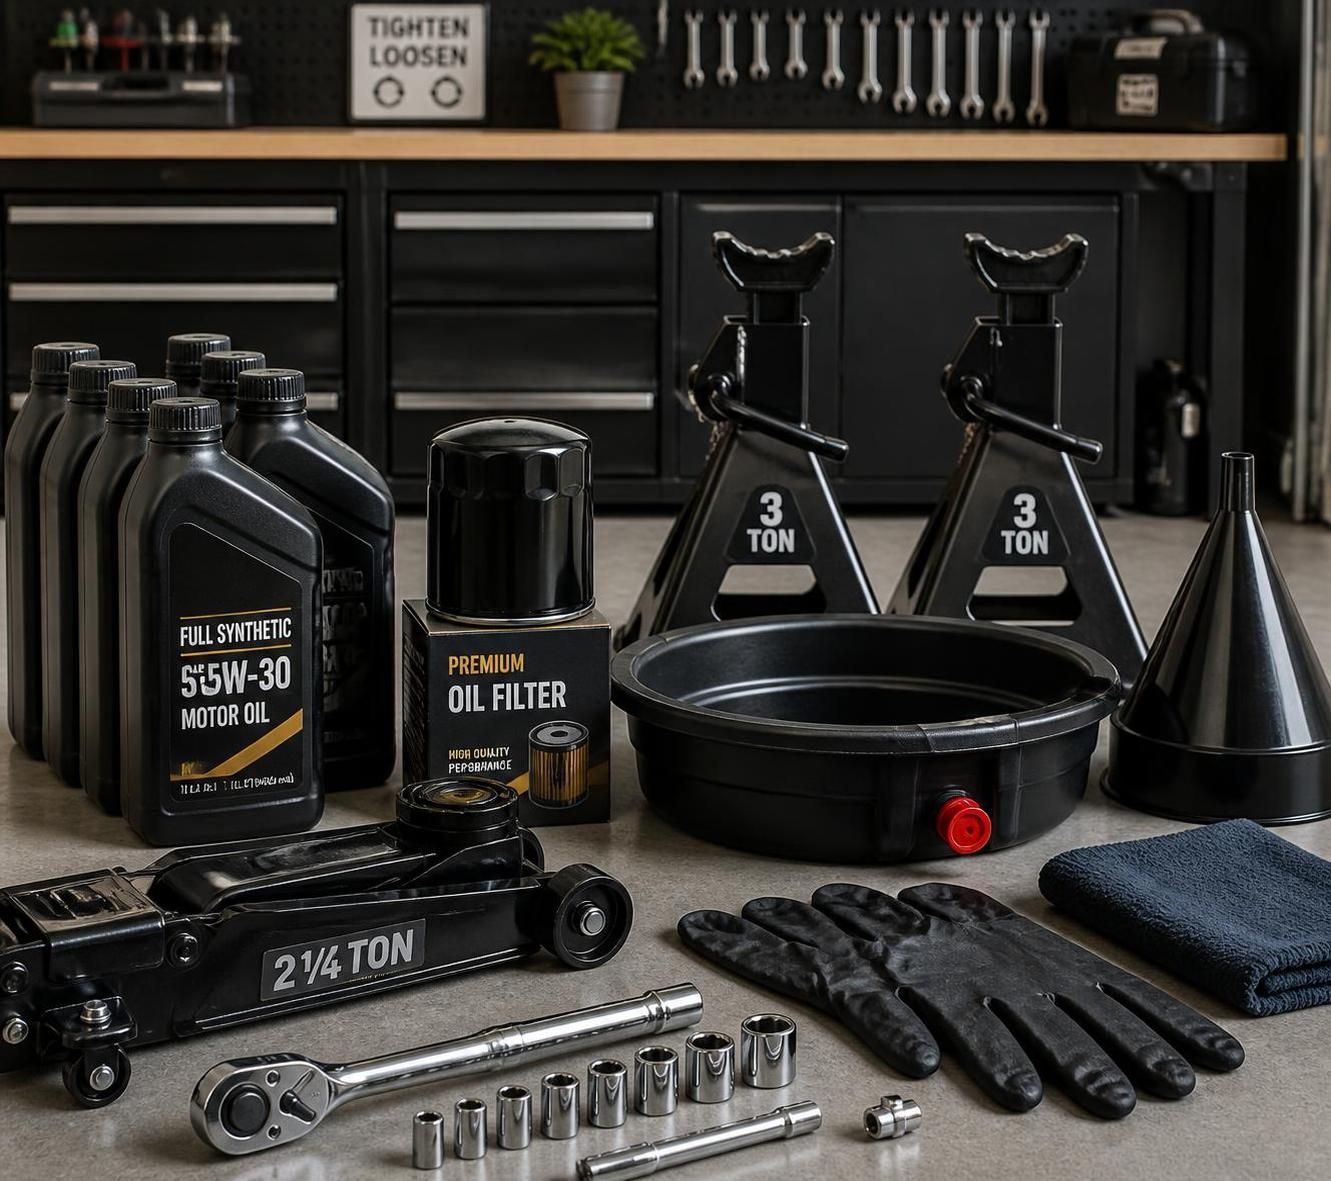
Beyond safety, gathering the right tools and materials streamlines the no lift oil change process. Essential equipment includes:
It is also critical to identify the correct oil type and quantity for your vehicle by consulting the owner’s manual or manufacturer documentation, ensuring the longevity of your engine’s internals. Neglecting this step risks premature wear or malfunction.
By following these foundational guidelines, anyone can approach a DIY oil change confidently, avoiding common safety pitfalls and preparing efficiently. For comprehensive step-by-step instructions, consider detailed tutorials such as this easy-to-follow oil change guide that covers both tools and safety essentials.
One of the overlooked yet highly recommended steps before draining engine oil is conducting an engine flush or cleaning. Over time, the oil circuit in your car’s engine accumulates deposits, sludge, and varnish, especially in engines with long intervals between oil changes or from unknown maintenance history. This buildup negatively impacts oil performance and lubrication efficiency, accelerating engine wear.
Using engine flush products before the oil drain step helps:
The procedure is straightforward for a DIY oil change without a lift. After warming the engine slightly (but not hot enough to risk burns), add the recommended amount of engine flush additive directly into the existing old oil via the oil filler cap. Typically, this ranges from 5% to 10% of the oil volume. Then, run the engine at idle for approximately 10 minutes to circulate the cleaner.
Important precautions include not exceeding the running time to avoid damage and choosing a quality, non-solvent based engine flush product to protect seals and internal gaskets. Following that, proceed promptly with the standard oil drain process to evacuate the mixture of old oil and loosened residues.
Occasionally, certain solvents require a rinse cycle with inexpensive oil before the final oil fill, but many modern flush additives eliminate this extra step.
In case you need a product recommendation, Syntix Engine Flush is a professional-grade solution tested extensively in workshops. It efficiently clears deposits while respecting engine components and is suitable for both gasoline and diesel engines.
This engine cleaning practice is especially advised if your car is purchased used without a clear maintenance record or if it has been running with oil beyond the recommended intervals.
Understanding how and why to perform an engine flush can considerably extend your engine’s lifespan and improve overall performance, all achievable during a home self oil change session. To explore more about engine cleaning and effective oil changes, visit extensive resources such as this professional guide on oil change techniques.
The heart of DIY oil change lies in properly draining old engine oil and replacing the oil filter. When changing oil without access to a vehicle lift, it is essential to secure the car safely on jack stands as discussed previously.
After warming the engine to reduce oil viscosity, position an oil drain pan under the oil drain plug. Using the correct-sized socket wrench, carefully loosen the drain plug on the engine’s oil pan. The oil will flow out considerably faster and cleaner if warmed, but avoid getting burned by hot components or hot oil spray.
Allow several minutes for all the oil to completely drain, since residual oil trapped inside can affect the quality of your fresh oil.
Always replace the oil drain plug gasket with a new one to prevent leaks. Reinstall the drain plug securely but avoid over-tightening, which could damage engine threads and cause costly repairs.
Next, locate and remove the old oil filter. Filters vary widely in location and type, but in a typical rear or side-mounted position accessible without a lift. Use a proper oil filter wrench or claw tool to loosen stubborn filters.
Strictly adhere to the rule that the oil filter must be tightened solely by hand. Over-tightening with a tool risks crushing the gasket or warping the filter, leading to leaks and difficult removal during the next change.
Before installing the new filter, apply a thin film of fresh engine oil to its gasket to improve seal and ease future removal. Screw the filter in place until the gasket contacts the engine surface, then tighten approximately three-quarters of a turn more by hand.
Neglecting to change the filter with the oil is a common error that compromises the entire oil change quality, allowing contaminants back into the engine.
| Step | Recommended Action | Common Mistake |
|---|---|---|
| Oil Drain Plug | Replace gasket; tighten to correct torque | Reusing gasket, over-tightening |
| Oil Filter Removal | Use proper tool for safe removal | Forcing or damaging sealing surface |
| Oil Filter Installation | Hand-tighten after oiling gasket | Over-tighten with wrench |
| Oil Drainage | Warm engine; drain fully | Drain while cold; residual oil left |
The final—and perhaps most critical—phase of the self oil change process is replenishing with the correct engine oil. Using improper oil viscosity or low-quality products can severely shorten engine life and void warranties.
Begin by reviewing your vehicle’s owner’s manual or the oil filler cap for specific oil viscosity recommendations (e.g., 5W30, 10W40) and quality standards (Dexos, ACEA, or API classifications). Modern engines often require synthetic or semi-synthetic oils meeting exacting specifications.
Top-quality oils not only lubricate but also help maintain engine cleanliness, mitigate wear, and improve fuel efficiency. For cars driven under demanding conditions—such as city traffic or high mileage—using synthetic oils with extended drain intervals is advantageous.
Alongside fresh oil, many undertake the addition of hyper-lubricant supplements like the Mecarun P18 or X1R MCR. These additives create a protective film over metal parts, reducing friction and wear. According to extensive testing documented on mechanic channels like Gaillard Le Bricoleur, such additives can reduce wear by up to 50% and lower fuel consumption.
Recommended dosing typically ranges from 4% to 6% of the total oil volume, with a slightly higher dose advised during the initial use. Adding the additive before or after pouring the oil does not impact effectiveness, as both mix promptly once the engine circulates the lubricant.
Completing the oil fill requires verifying oil level with the dipstick on a flat surface with the engine off and cool. The oil level should rest comfortably within the minimum and maximum markers for proper lubrication.
For newcomers to vehicle maintenance seeking an all-encompassing overview of selecting and handling oils and additives for successful oil changes, websites such as this practical oil change guide offer detailed advice and trustworthy recommendations.
While performing an oil change without lift can be empowering and cost-effective, attention to detail is paramount. Avoiding common mistakes preserves the longevity of your engine and prevents unintended damage.
In addition to preventing mechanical problems, implementing these best practices helps maintain vehicle performance and fuel efficiency while reducing long-term repair costs.
For further reading on responsible oil disposal and environmental considerations, consult detailed articles on oil change recycling and environmental care.

Understanding the True Cost of Vehicle Revision in 2026 When considering car maintenance cost 2026, it’s crucial to differentiate between a simple…
Lire l’article →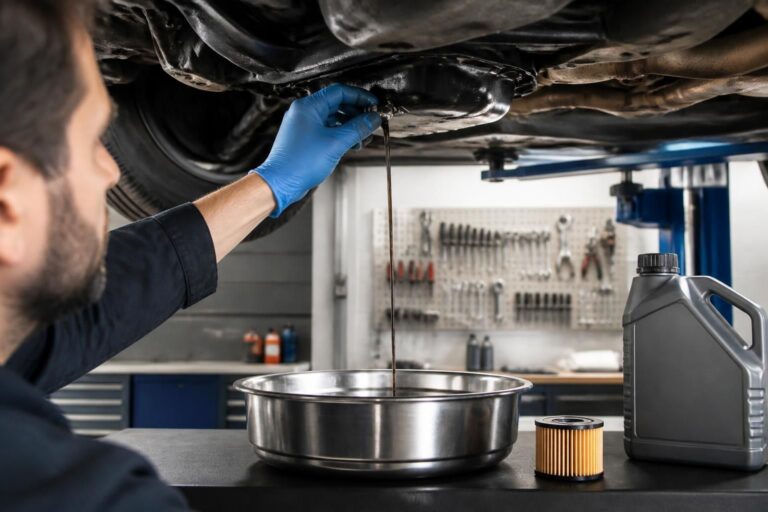
Essential Tools and Preparation for a Quick and Easy Car Oil Change Performing a car oil change at home is one of…
Lire l’article →
Understanding Shock Absorber Replacement Cost in 2026 Replacing shock absorbers is essential for maintaining vehicle safety and ride comfort. In 2026, the…
Lire l’article →